Tutorial
Mastra, Part 3: The Harness
Part three of the Mastra series. An agent and some tools aren't an application yet. Mastra's harness — the AgentController runtime — adds the session, modes, subagents, and tool approvals that turn an agent into something users can actually depend on.
In Part 1 I built an agent. In Part 2 I orchestrated logic around it. Both are the ingredients of an AI application. Neither is the application.
Think about what a real interactive agent — a coding assistant, a support copilot — actually needs beyond "call the model in a loop": a conversation that survives a browser refresh, a way to switch between planning and doing, the ability to spin off a focused helper for a subtask, and a gate that asks before it deletes a file. That connective tissue between your UI and the agent loop is what Mastra calls the Harness.
The series so far
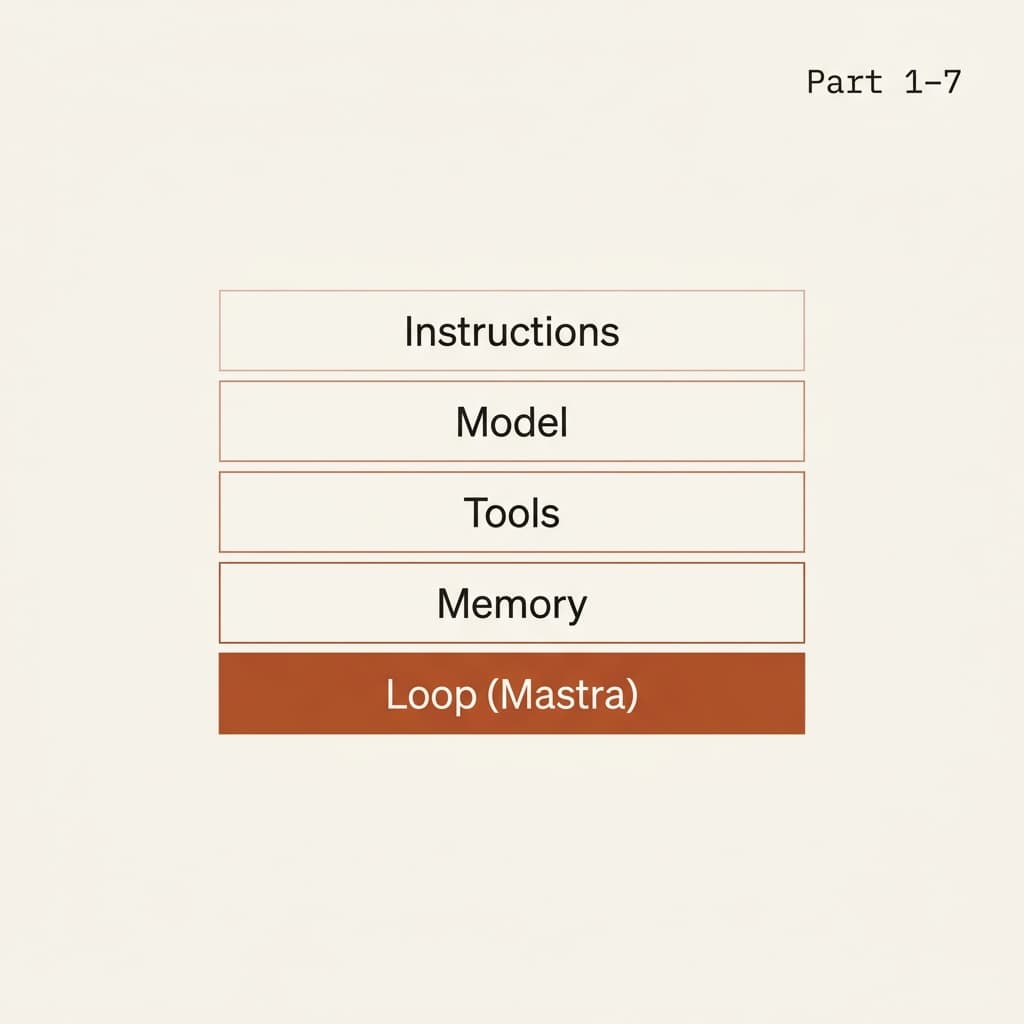
- Agents — the loop, tools, memory.
- Workflows — orchestration with guarantees.
- The Harness (you're here) — the runtime that hosts it all.
- Streaming — get the work to a UI live.
- RAG — answer from real documents.
- Durable agents — survive crashes, run in the background.
- Evals — prove the agent is actually good.
What the harness is — and what it's called
"Harness" is how Mastra frames this layer in its feature lineup, right alongside
Agents, Workflows, and Memory. In the API it's the
AgentController — the
docs describe it as a "session controller" that manages the pieces "between
your UI and the agent loop: managing conversation threads, switching between
agent modes, persisting state."
You could build all of this yourself on top of the Agent class. The harness
is the opinionated version — reach for it when you want the collaborative-session
model without hand-rolling the runtime around it. Mastra's own terminal coding
agent, Mastra Code, is built on it.
The AgentController is in beta as of Mastra 1.46, and the docs note it's
"subject to breaking changes in minor versions until it graduates." The
concepts below are stable; pin your version and check the changelog before
upgrading.
Step 1: Wrap an agent in a controller
The controller takes an agent, a storage backend for persistence, and at least
one mode (more on modes next — the modes array is required, and the
controller throws at construction if it's empty):
import { AgentController } from "@mastra/core/agent-controller";
import { LibSQLStore } from "@mastra/libsql";
import { assistant } from "./agents/assistant";

const controller = new AgentController({
  id: "assistant-app",
  agent: assistant,
  storage: new LibSQLStore({ url: "file:./app.db" }),
  modes: [
    { id: "chat", name: "Chat", metadata: { default: true } },
  ],
});

await controller.init();
await controller.selectOrCreateThread();
init() boots the runtime; selectOrCreateThread() binds it to a conversation
thread. From here the controller is live and holding a session.
Step 2: Read everything from the session
The split that makes the harness click: the controller performs actions; the
session is where you read the result. The docs put it cleanly — the
AgentController is "the shared host; the Session is the conversation running
inside it." One controller can serve many users, and nothing leaks between
their sessions.
The session tracks the current thread, mode, model, permission grants, queued follow-ups, your app's structured state, and a display state — a single snapshot your UI renders from. The recommended pattern is to subscribe and re-render on change:
const snapshot = controller.session.displayState.get();
render(snapshot);

controller.subscribe((event) => {
  if (event.type === "display_state_changed") {
    render(controller.session.displayState.get());
  }
});
That displayState snapshot carries running totals too — token usage, queued
follow-up count — so your UI reads them from one place instead of stitching
together a dozen callbacks.
To drive the conversation, you queue messages onto the controller. A normal
message goes through followUp; if the agent is mid-run and you want to redirect
it, steer injects guidance without waiting:
await controller.followUp({ content: "Summarize today's tickets." });

// While it's working, change course:
await controller.steer({ content: "Actually, just the high-priority ones." });
Step 3: Modes — one agent, many behaviors
This is the feature I find most useful. A mode layers its own instructions and tool overrides on top of the same backing agent. The controller keeps exactly one mode active at a time and carries the thread and state across switches — so the agent can behave like a planner, then like a builder, without losing the conversation.
The classic shape is a plan → build → review flow:
const controller = new AgentController({
  id: "coding-app",
  agent: codingAgent,
  storage: new LibSQLStore({ url: "file:./app.db" }),
  modes: [
    {
      id: "plan",
      name: "Plan",
      metadata: { default: true },
      instructions: "Reason about the task. Do not edit files yet.",
      tools: { readFileTool, searchTool }, // REPLACES the agent's tools
      transitionsTo: "build",
    },
    {
      id: "build",
      name: "Build",
      instructions: "Implement the approved plan.",
      additionalTools: { editFileTool }, // ADDS to the agent's tools
    },
    {
      id: "review",
      name: "Review",
      instructions: "Critique the changes. Read-only.",
      availableTools: ["read_file", "git_diff"], // visibility allowlist
    },
  ],
});
Three knobs are doing the work here, and the distinction matters:
toolsreplaces the backing agent's tools for that mode. Inplan, the agent literally cannot edit files — the edit tool isn't in its toolbox.additionalToolsaugments them. (You can't set both on one mode.)availableToolsis a per-mode visibility allowlist on top of whatever's configured.
Switch modes through the session. The switch aborts any in-progress generation,
saves the outgoing mode's model, and emits a mode_changed event:
await controller.session.mode.switch({ modeId: "build" });You can also let it happen automatically: a mode with transitionsTo advances on
its own when a plan is approved — and stays put to revise if it's rejected.
Why bother instead of three separate agents? Because they'd each start cold. With modes, the plan you just approved is still in context when build picks up — same thread, same state, different rules.
Step 4: Subagents for focused detours
Some subtasks deserve their own narrow agent: "go read these twelve files and report back" shouldn't pollute the main conversation with twelve files of noise. Mastra's harness supports subagents — child agents with constrained tools that the parent can spawn. The docs describe them as letting "a parent agent delegate focused tasks to child agents with constrained tools and instructions."
Configure them on the controller. Mastra auto-generates a subagent tool the
parent model can call to spin one up:
const controller = new AgentController({
  id: "coding-app",
  agent: codingAgent,
  modes: [{ id: "build", name: "Build", metadata: { default: true } }],
  subagents: [
    {
      id: "explore",
      name: "Explore",
      description: "Reads files and gathers context without making changes.",
      instructions: "You are a read-only exploration agent.",
      allowedWorkspaceTools: ["read_file", "list_directory", "grep_search"],
      defaultModelId: "anthropic/claude-haiku-4-5",
      maxSteps: 30,
    },
  ],
});
By default a subagent starts fresh — it can't see the parent's messages, so the
parent passes everything it needs in the task. That isolation is the point:
the explorer burns through files on a cheaper model and returns a tidy summary,
and the main thread never sees the mess. (If a subtask genuinely needs the full
conversation, you can mark a subagent forked: true to clone the parent thread —
that requires memory configured on the controller.)
Step 5: Tool approvals — the human-in-the-loop gate
The last piece is what makes me comfortable pointing a tool-using agent at anything that matters. Tool approvals let you require confirmation for risky operations — file writes, deployments, anything destructive — while trusted tools run automatically.
When the agent calls a gated tool, the run pauses and surfaces an approval request through the session; your UI prompts the user; the run continues or cancels based on the answer. Grants the user approves are remembered on the session, so you're not re-prompting for the same safe action every turn.
This is the same instinct as workflow suspend & resume from Part 2 — pause, defer to a human, continue — but applied at the granularity of a single tool call, right inside an open conversation.
The whole picture
Step back and look at what the three parts assembled:
- Part 1 gave us an agent — a model that can decide and call tools, with memory for continuity.
- Part 2 gave us workflows — explicit orchestration with branching, loops, and durable suspend & resume.
- Part 3 gave us the harness — the
AgentControllerruntime with a live session, switchable modes, focused subagents, and tool approvals.
Agents decide. Workflows guarantee. The harness hosts. Each layer is useful alone, but the reason to use a framework like Mastra is that they snap together — and you never had to hand-write the loop, the persistence, or the approval gate to get there.
That's the core trio. From here the series turns to what it takes to put this in front of real users: streaming its work to a UI, grounding it in your own documents, keeping long-running agents alive, and proving the thing is actually good. With these three parts behind you, you now have the mental model to read Mastra's own docs the way I do: not as magic, but as named answers to problems you've built solutions for yourself.